
Loops and Pockets
Our next guest for Boy’s Own Style month is Tanya from Sew Many Dreams. She always seems to have lots of sewing projects on the go, as well as the occasional recipe and glimpses of life. She’s also left lots of comments here, and I really appreciate her support. Let’s see how she adds a bit of style to her boy’s clothes:
Hi, I’m Tanya, busy mom to two (soon to be three!) little boys, and the part-time crafter behind Sew Many Dreams. I love spending my days playing with my boys, and my evenings in my craft room whipping up projects such as airplane growth charts, oversized pillow seats, and the best sprinkler ever!

My boys are typical boys: they love to run fast, get dirty, climb trees, play with bugs, and to collect little bits of, well, everything. Sound familiar?
To encourage their love of discovery, I like to make sure their clothing has lots of ‘storage’. Here are a couple super simple ways you can make your boys’ pants more stashable friendly.
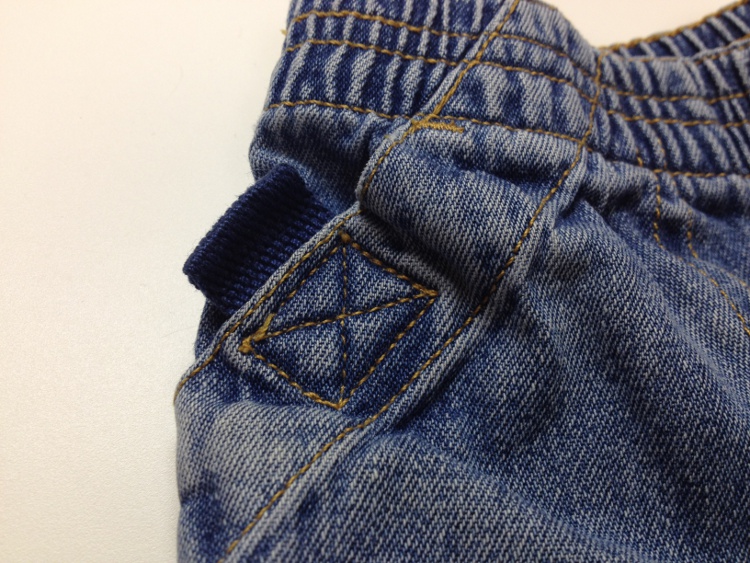
Add loops!
Adding loops to an existing pair of pants costs virtually nothing and takes less than three minutes. For this pair of jeans, which didn’t have belt loops, I stitched scraps of webbing to the outer layer of the pockets. You could also use bits of fabric or bias tape.
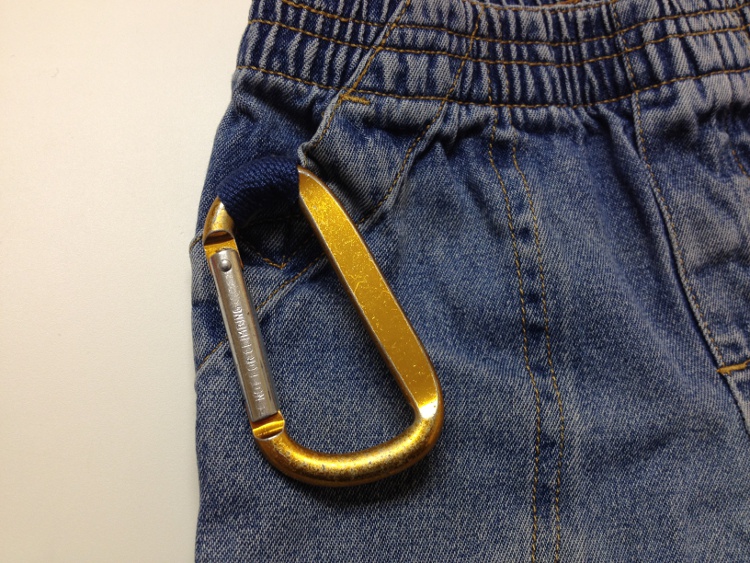
Add a removable clip, and the possibilities are endless. My youngest loves to carry a small flashlight on his clip, but has been known to carry around elastics, pinecones, and Christmas ornaments. You know, the essentials.
Add a pocket!
My sewing room usually has a stack of mending. Simple patches are great, but why not add a pocket while you’re fixing a hole?
Depending on the location of the tear, I usually start by opening up one side of the pant leg most of the way to the bottom, and the other side just large enough to insert the sides of the pocket I want to make. My seam ripper is my friend!

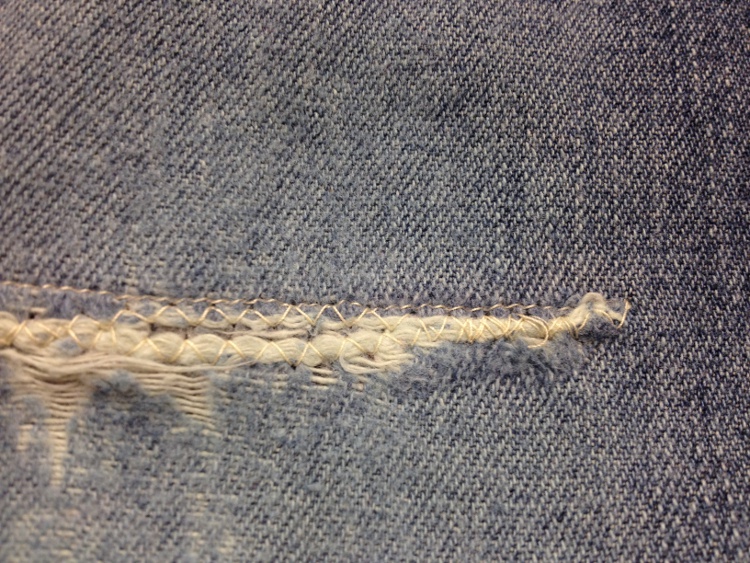
Then I close up the offending hole. Since it will be covered by a new pocket when I’m finished, I just use a piece of lightweight interfacing on the inside, and stitch down the loose threads on the outside.
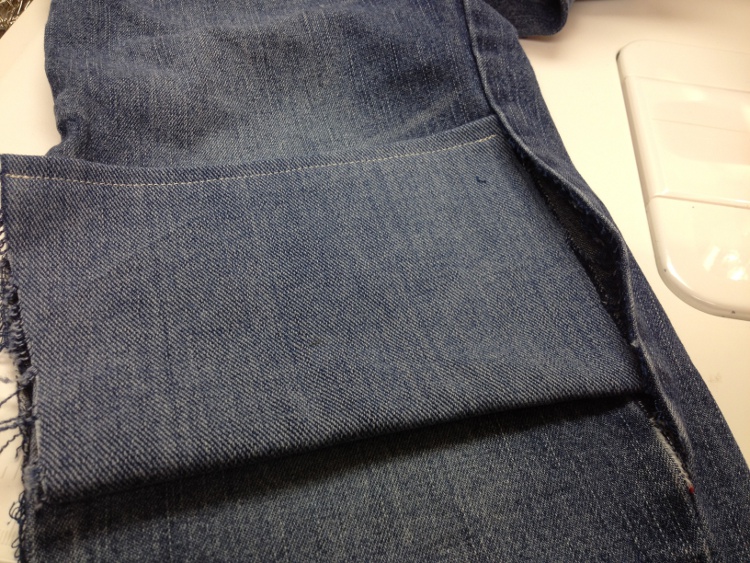
Next, cut a piece of fabric for the pocket. I happened to have denim scraps that were a fairly close match, but don’t be afraid of contrasting fabric. I don’t usually bother to measure the size of the pocket; just make it large enough to cover the torn area. Serge or zigzag the edges of the pocket piece, turn under the top and stitch it down. Then place the pocket onto the pant leg, making sure the edges will be caught in the side seams. Baste sides into place, and then stitch along the bottom. At this point, I added an extra vertical seam through the pocket because my little guys like to have a parking spot for a special Hot Wheels car, but you don’t have to do that.
Once the bottom of the pocket is stitched in place and the sides basted, turn the pants inside out and re- stitch the side seams. Voila! You’ve saved the pants from the trash AND added a cool new feature. Good job!

It’s been so great being part of Boy’s Own Style here at Cook Craft Clean, and I can’t wait for even more fantastic boy-inspired ideas as the month goes on!
Thanks Tanya! I love the idea of car pockets on clothes to cover rips. My son hasn’t discovered stashing things in pockets yet, but I’ll keep these ideas in mind when he does!
such a simple and cool idea!